Hexo 建站
安装前提
安装Hexo相当简单,只需要先安装下列应用程序即可:
搭建 Hexo
在命令行中通过npm来安装Hexo:
npm install -g hexo-cli-g表示全局安装,会将Hexo命令加入环境变量中,以使其在cmd下有效。
新建博客目录blog,然后在该路径下执行初始化命令:
hexo init执行完毕后,将会生成以下文件结构:
├── node_modules       //依赖安装目录
├── scaffolds          //模板文件夹,新建的文章将会从此目录下的文件中继承格式
|   ├── draft.md       //草稿模板
|   ├── page.md        //页面模板
|   └── post.md        //文章模板
├── source             //资源文件夹,用于放置图片、数据、文章等资源
|   └── _posts         //文章目录
├── themes             //主题文件夹
├── .gitignore         //指定不纳入git版本控制的文件
├── _config.yml        //站点配置文件
├── package.json       //应用程序的信息
└── package-lock.json
在根目录下执行如下命令启动 hexo 的内置 Web 服务器
hexo g # 生成
hexo s # 启动服务
打开浏览器访问 http://localhost:4000 即可看到内容。
安装 Next 主题
此教程博客根目录皆为blog,站点配置文件皆为blog/_config.yml
在博客根目录下执行以下命令下载主题文件:
git clone https://github.com/next-theme/hexo-theme-next.git themes/next打开站点配置文件,搜索 theme 字段的值修改为 next。
theme: next清除缓存并重启服务,刷新浏览器查看默认效果如下图:
hexo clean & hexo s --debug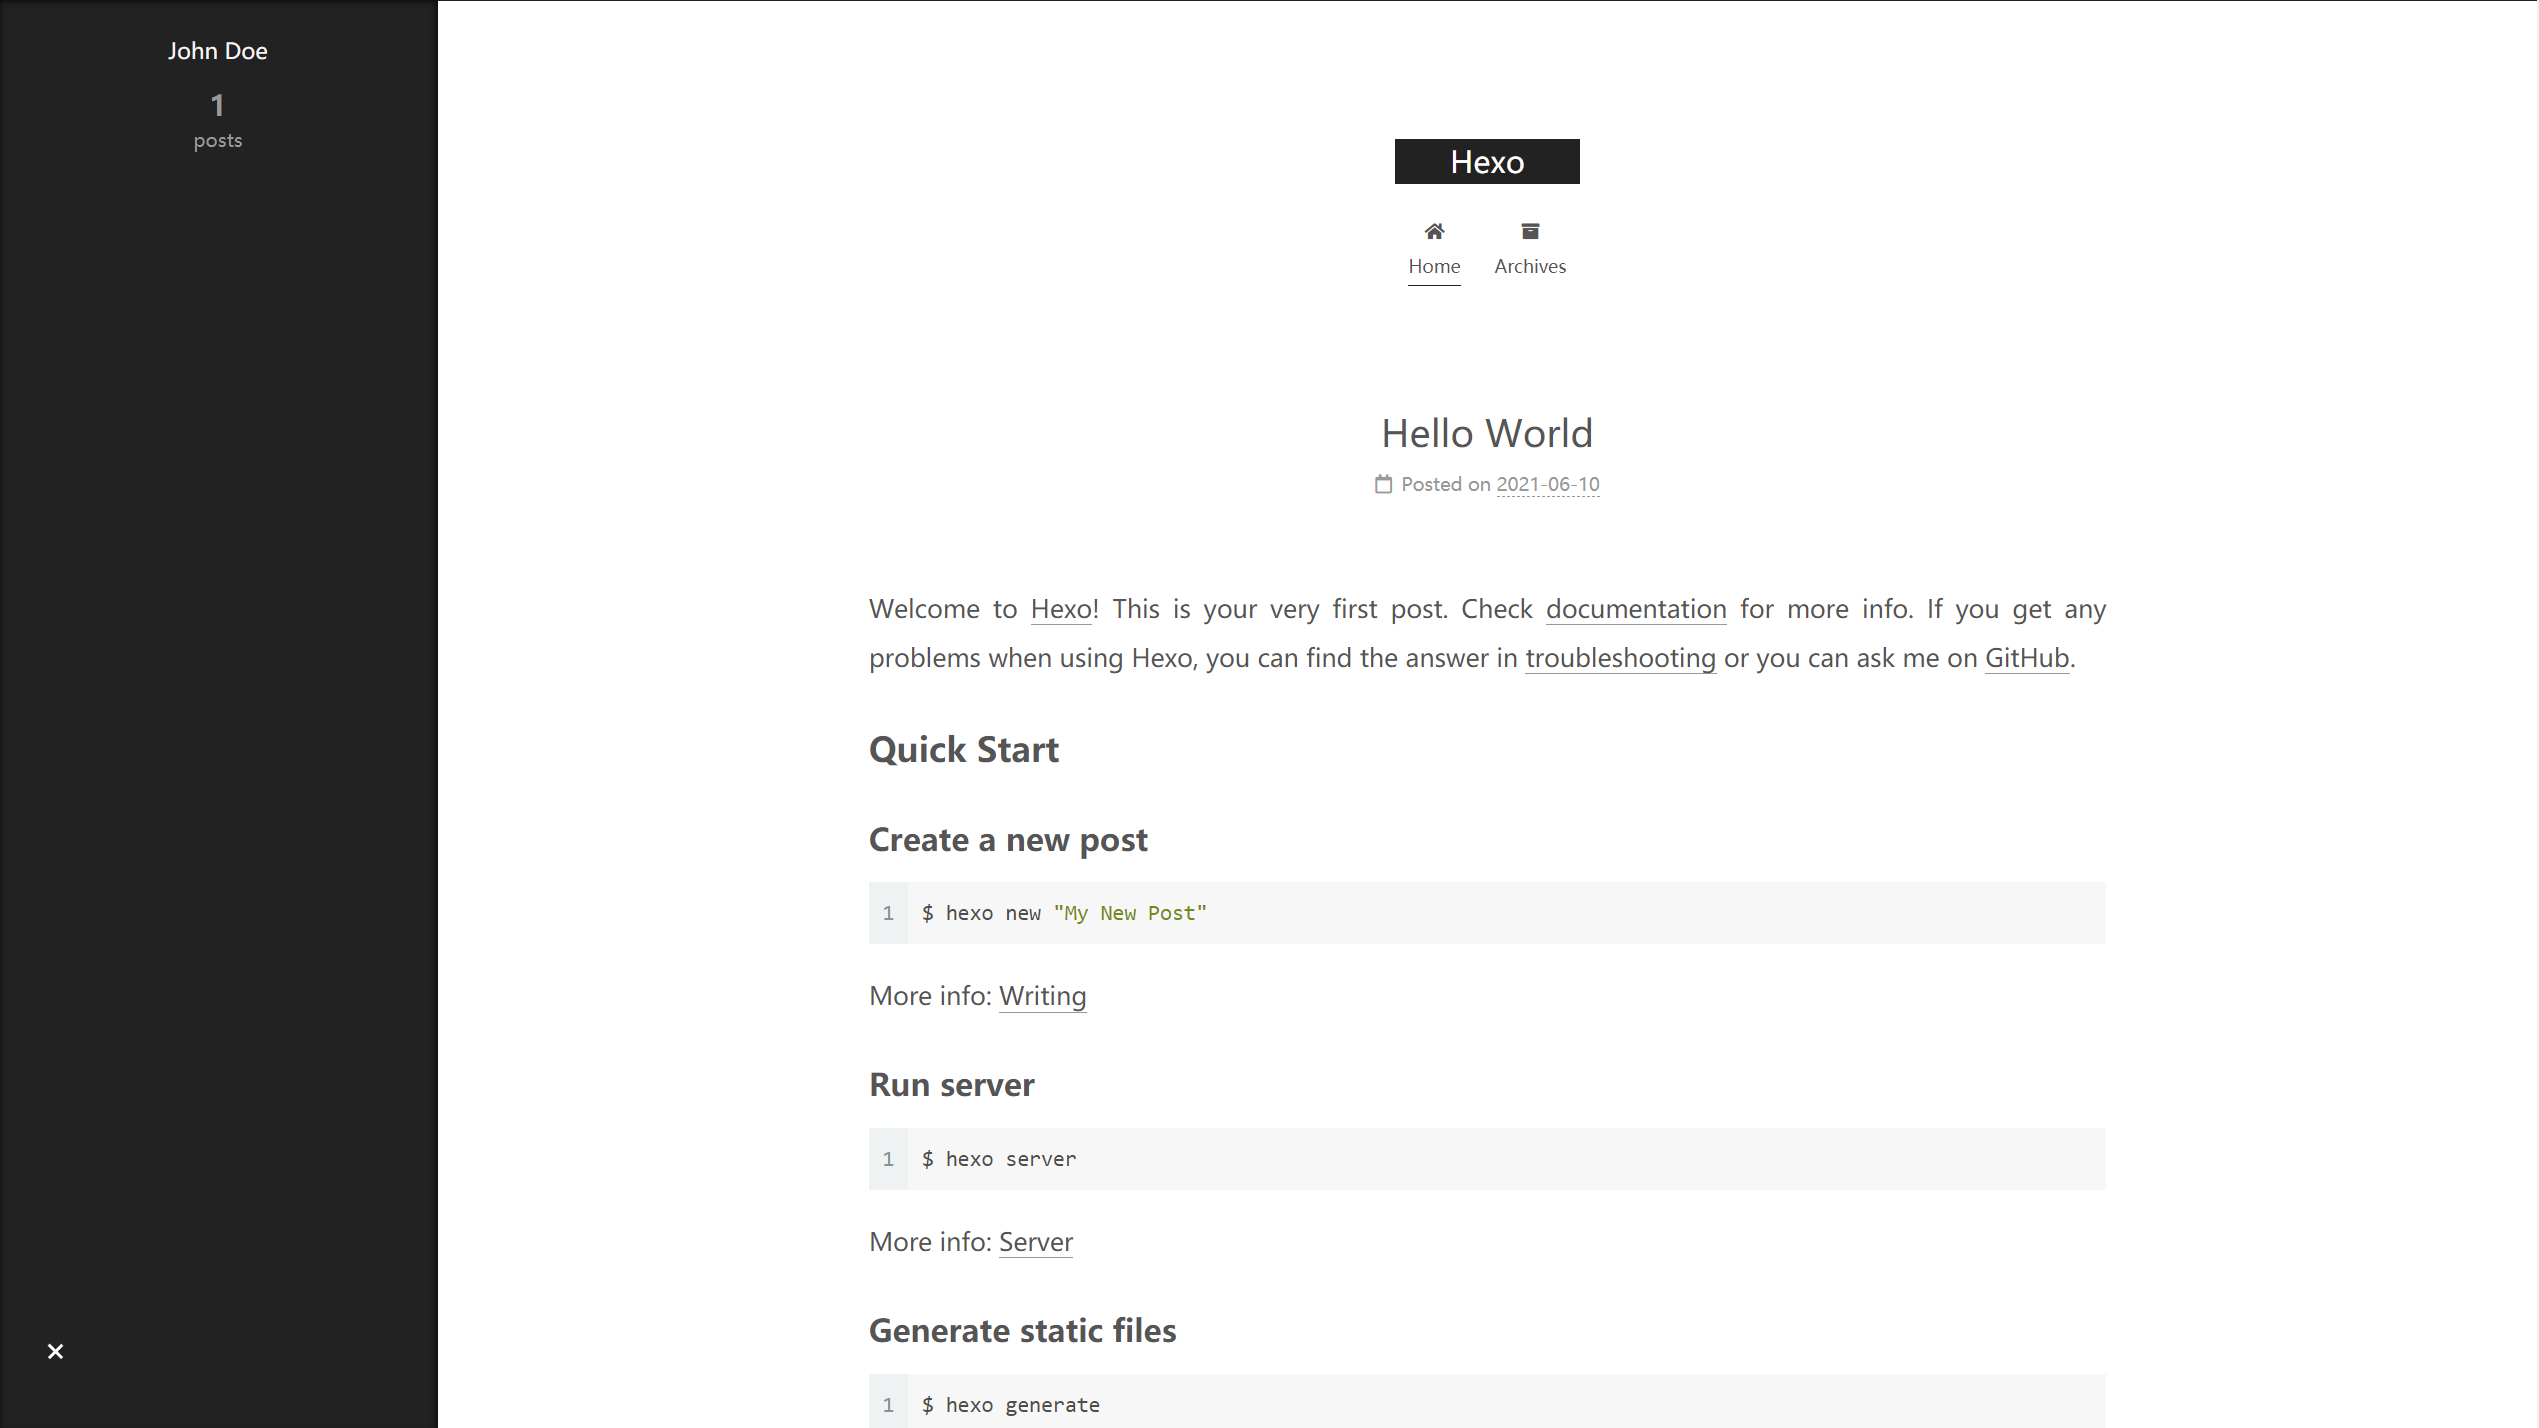
主题管理参考此文章 → 主题版本管理
自定义配置
自从 NexT-7.3.0 开始,官方推荐使用自定义配置文件,这样我们可以在不修改主题源码的同时完成选项配置、自定义布局、自定义样式,便于后续 NexT 版本更新。
外挂主题配置
- 在博客根目录执行以下命令,复制主题配置文件,此后修改
_config.next.yml中相关参数即可。官方文档 → 点击访问
cp themes/next/_config.yml _config.next.yml外挂语言配置
我们原来是通过修改主题目录下的 languages 目录中的 zh-CN.yml 文件来对菜单等进行中文翻译的,现在我们可以通过在 blog/source/_data/ 下新建数据文件 languages.yml,修改翻译配置如下:
zh-CN:
    menu:
      home: 博客首页
      overviews: 文章总览
      timeline: 时间轴
      about: 关于本站
      links: 友链链接
      search: 全站搜索
    counter:
      tag_cloud:
        one: <i class="fas fa-fw fa-tags"></i> 目前共计 1 个标签
        other: <i class="fas fa-fw fa-tags"></i> 目前共计 %d 个标签
      categories:
        one: <i class="fas fa-fw fa-th"></i> 目前共计 1 个分类
        other: <i class="fas fa-fw fa-th"></i> 目前共计 %d 个分类
外挂其他配置
在主题配置文件中搜索 custom_file_path 选项,下方即为支持外挂数据文件,按照对应命名在 blog/source/_data/ 目录下新建对应名称文件。并取消相应文件的注释即可。文件大致说明如下:
custom_file_path:
  head: source/_data/head.njk #网站顶部配置
  #header: source/_data/header.njk
  sidebar: source/_data/sidebar.njk #侧边栏配置
  postMeta: source/_data/post-meta.njk #文章顶部配置对应themes\next\layout\_macro\post.njk文件,只要属性标签相同会覆盖主题默认
  postBodyEnd: source/_data/post-body-end.njk #文章结束配置
  footer: source/_data/footer.njk #底部配置
  bodyEnd: source/_data/body-end.njk #网站结束配置
  variable: source/_data/variables.styl #变量定义文件
  #mixin: source/_data/mixins.styl
  style: source/_data/styles.styl # 样式文件
配置站点
完善网站基本信息
打开站点配置文件,完善网站基本信息:
# Site 站点信息
title: 且听风吟 # 站点名称
subtitle: 🕊️ gu~gu~gu # 站点副标题
description: 一瞥便是惊鸿 芳华乱了浮生 # 站点描述
keywords: Java,Web # 关键字
author: 浮生 # 作者名称
language: zh-CN # 网站语言
timezone: '' # 时区
配置网址url
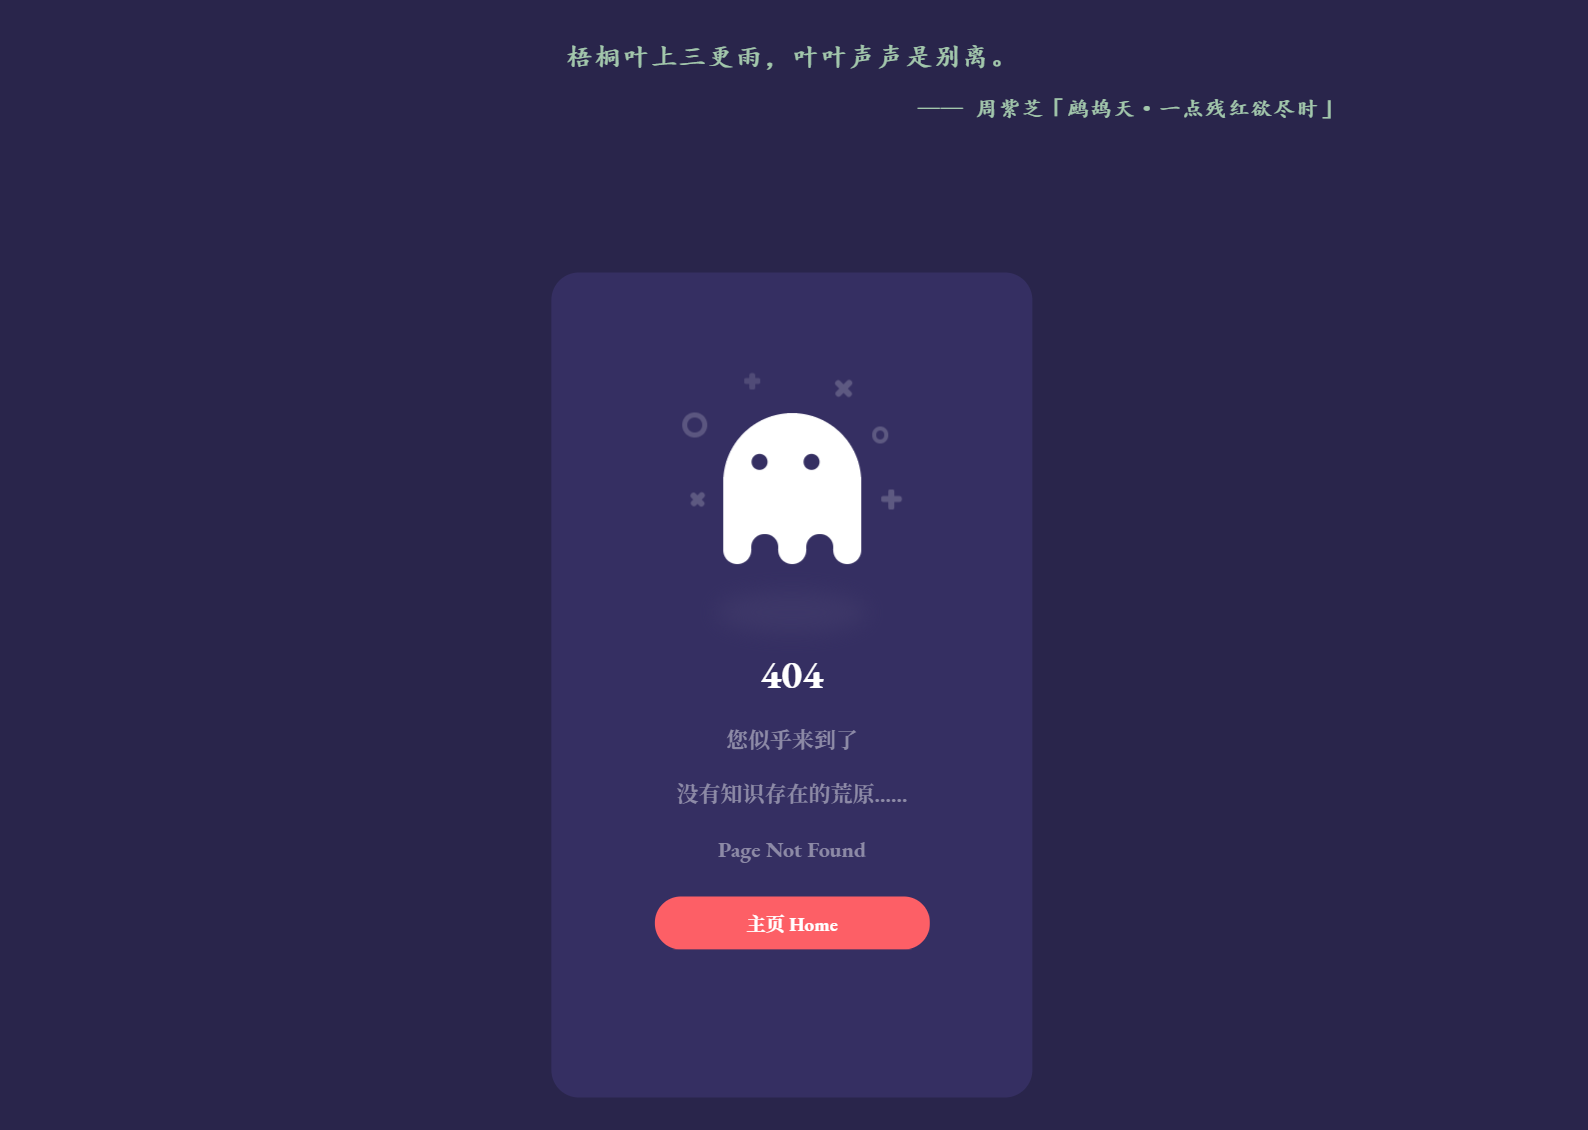
url: https://blog.yileaf.com # 配置为你的域名添加404页面
在 blog/source目录下新建404.html,编写该页面,当线上访问不存在的路径时会自动重定向到该页面。附上我的页面效果:
配置站点目录
如果你在next中自定义了菜单目录,此处需要修改为对应路径
source_dir: source # 资源文件夹
public_dir: public # 公共文件夹
tag_dir: overviews/tags # 标签文件夹
archive_dir: overviews/timeline # 归档文件夹
category_dir: overviews # 分类文件夹
code_dir: downloads/code
i18n_dir: :lang # 国际化
skip_render:
  - 404.html # 跳过指定文件的渲染。匹配到的文件将会被不做改动地复制到 public 目录中
更多站点配置内容移步 → Hexo文档 进行查看
配置主题
下文修改主题配置,皆为修改
_config.next.yml中的选项
主题风格修改
Next 默认主题风格为 Muse,用户可以在主题配置文件中修改 scheme 字段以选择自己喜欢的主题风格:
# Schemes
#scheme: Muse
......
scheme: Gemini
修改网站 Favicon
Favicon 即浏览器标签左侧的图标。下载自己喜欢的图标置于 blog\source\images\ 目录下,命名方式参考主题配置文件中的 favicon 字段。
favicon:
  small: /images/favicon-16x16.png # 小图标
  medium: /images/favicon-32x32.png # 大图标
  apple_touch_icon: /images/apple-touch-icon-next.png # 苹果图标
  safari_pinned_tab: /images/favicon-48x48.png # safari浏览器标签页图标
  #android_manifest: /images/manifest.json
  #ms_browserconfig: /images/browserconfig.xml
设置头像
将头像放在 blog/source/images 路径下。打开主题配置文件,搜索 avatar 字段进行修改:
# Sidebar Avatar
avatar:
  url: images/avatar.png # 头像路径
  rounded: true # 使用圆形头像
  rotated: true # 开启头像旋转
配置菜单
菜单配置项的格式为 key: /link/ || icon,包含三个部分,第一是菜单项的名称,第二是菜单项的链接,第三是菜单项对应的图标。
- key:菜单项显示的名称(如
home,archives等),Hexo 首先会根据 key 在 languages 文件夹找对应语言的翻译,如果找到则会加载该翻译,如果找不到,将使用 key 本身的值。其中 key 的值大小写敏感。 - link:是你网站内相对网址的目标链接。
- icon:FontAwesome 图标的名称。NexT 使用的是 Font Awesome 提供的图标, Font Awesome 提供了 600+ 的图标,可以满足绝大的多数的场景。
打开主题配置文件,搜索 menu 选项,进行相应配置:
menu:
  home: / || fas fa-home
  overviews:
    default: /overviews/ || fas fa-archive
    tags: tags/ || fas fa-tags
    timeline: timeline/ || fas fa-stream
  about: /about/ || fas fa-location-arrow
  links: /links/ || fas fa-link
  #archives: /archives/ || fas fa-archive
  ......

menu_settings:
  icons: true # 显示菜单图标
badges: false # 显示数量统计- 开启对应菜单后,需在
blog/source下新建对应分类文件夹,并添加index.md
添加社交链接
打开主题配置文件,搜索 social 选项,进行对应更改:
social:
  简书: https://www.jianshu.com/u/ec346a4e0d4e || fas fa-heartbeat
  GitHub: https://github.com/moyuhs || fab fa-github
  Telegram: https://t.me/yileaf || fab fa-telegram
  E-Mail: mailto:2056423011@qq.com || fas fa-envelope
侧边栏美化
1.在 variables.styl 文件中定义字体格式:
// Font families.
$font-family-custom       = cursive, "Helvetica Neue", Helvetica, Arial, "PingFang SC", "Hiragino Sans GB", "Heiti SC", "Microsoft YaHei", "WenQuanYi Micro Hei", sans-serif;
2.在 styles.styl 文件中修改样式:
/* sidebar-网站拥有者 */
.site-author-name {
  font-size: $font-size-larger;
  font-family: $font-family-custom;
}

/* sidebar-网站描述 */
.site-description {
  font-size: $font-size-medium;
  font-family: $font-family-custom;
}
加载进度条
打开主题配置文件,搜索 pace 选项:
pace:
  enable: true  # 启用动画
  color: blue   # 动画颜色
  theme: flash  # 动画效果
网站圆角
1.在 variables.styl 文件中定义圆角大小:
$custom-radius = 8px;2.在 styles.styl 文件中加定义圆角样式,效果如下图:
/* 圆角 */
.header-inner, ///顶部圆角
.sidebar-inner { //侧边头像圆角
  border-radius: $custom-radius;
}

.site-brand-container {
  border-radius: $custom-radius $custom-radius 0 0;

  +mobile() {
    border-radius: 0 0 $custom-radius $custom-radius;
  }
}

/* sidebar-二级菜单圆角 */
.sub-menu {
  border-radius: $custom-radius !important;
}

/* post-文章卡片圆角 */
.post-block,
.post-block + .post-block {
  border-radius: $custom-radius !important;
}
文章置顶
1.在需要置顶的文章 Front-matter 中添加 sticky: n,这里的n是数字要求>0,数字越大表示置顶等级越高,文章越靠前,例:
---
title: xxx
date: xxx
categories:
  - xx
+sticky: 1
---
2.置顶图标动态颜色(根据个人喜欢)
在 styles.styl 文件中加入以下代码:
/* post-文章置顶 */
.post-sticky-flag {
  color: transparent;
  background: linear-gradient(90deg, #333333 0%, #CC0033 33.3%, #FF0033 66.6%, #333333 100%);
  background-size: 300% 100%; /*扩大背景区域*/
  -webkit-background-clip: text; /*截取背景区域为文字*/
  animation: thumbtack 4s infinite linear;
}

@keyframes thumbtack {
  0% {
    background-position: 0 0;
  }
  100% {
    background-position: -150% 0;
  }
}
修改文内链接样式
未修改时,文内链接颜色和普通文本没有区别:

在 variables.styl 文件中加入以下代码:
// Color
$custom-link          = #0593d3;
$custom-link-hover    = #fc6423;
在 styles.styl 文件中加入以下代码,效果如下图:
/* post-超链接 */
.post-body li a,
.post-body p a {
  color: $custom-link;
  border-bottom: 1px solid $custom-link;

  &:hover {
    color: $custom-link-hover;
    border-bottom: 1px solid $custom-link-hover;
  }
}
中英文之间自动空格
该功能由 pangu 提供,在主题配置文件中设置 pangu: true 即可启用该动能。
配置页面代码块
在站点配置文件中选择 prismjs 或者 highlight 用于代码块高亮。
highlight:
  enable: false # 关闭highlight
  line_number: true
  auto_detect: false
  tab_replace: ''
  wrap: true
  hljs: false
prismjs:
  enable: true # 启用prismjs
  preprocess: true
  line_number: true
  tab_replace: ''
在主题配置文件中,搜索 codeblock ,配置喜欢的主题,开启代码块复制。
codeblock:
  # 在线代码块高亮调试网站: https://theme-next.js.org/highlight/
  theme: #对应highlight
    light: default
    dark: tomorrow-night
  prism: #对应prismjs
    light: prism
    dark: prism-dark
  copy_button:
    enable: true # 启用代码块复制
    # Available values: default | flat | mac
    style: #风格
回到顶部按钮显示百分比
在主题配置文件中,搜索 back2top 选项,进行如下更改:
back2top:
  enable: true # 显示回到顶部按钮
  sidebar: false # true,按钮显示在侧边栏;false,按钮显示在右下角
  scrollpercent: true # 按钮上显示百分比
添加文章结束语
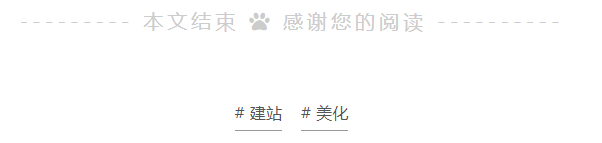
在 post-body-end.njk 文件中加入如下配置:
{%- if theme.complimentary_close.enable %}
  <div class="complimentary-close">
    --------- 本文结束
    {%- if theme.complimentary_close.icon %}
        <i class="{{theme.complimentary_close.icon}}"></i>
    {%- else %}
        <i class="fas fa-paw"></i>
    {%- endif %}
    感谢您的阅读 ----------
  </div>
{%- endif %}
在 styles.styl 文件中加入如下样式:
/* post-结束语 */
.complimentary-close {
  text-align: center;
  color: $grey-light;
  font-size: $font-size-largest;
  letter-spacing: $font-spacing;

  +mobile() {
    font-size: $font-size-medium;
  }
}
在 variables.styl 文件中加入如下配置:
// font
$font-spacing         = 0.2em;
回到主题配置文件中,启用配置:
# 文章结束语配置
complimentary_close:
  enable: true
  icon:  # 图标默认fas fa-paw
开启文章打赏
在主题配置文件中搜索 reward 选项,配置打赏选项:
reward_settings:
  enable: true # 设置为true,每篇文章都将开启打赏功能
  animation: true # 是否开启动画
  comment: Buy me a coffee # 打赏文案

reward:
  wechatpay: /images/wechatpay.png # 微信二维码路径
  alipay: /images/alipay.png  # 支付宝二维码路径
  #paypal: /images/paypal.png
  #bitcoin: /images/bitcoin.png
打开 \themes\next\layout\_partials\post\post-reward.njk 文件找到如下位置,添加爱心图标:
<button>
    <i class="fas fa-hand-holding-heart" style="color:red;"></i> #加入爱心图标
    {{ __('reward.donate') }}
</button>
如果开启全局打赏,可在不需要打赏的文章 Front-matter 中进行关闭:
---
title: xxx
date: xxx
categories:
  - xx
+reward_settings:
+  enable: false
---
添加版权协议
在主题配置文件中,搜索 creative_commons 选项,进行如下修改:
creative_commons:
  license: by-nc-sa # 协议名
  size: small # 字体大小
  sidebar: false # 是否在侧边栏显示协议图标
  post: true # 开启版权声明
  language: deed.zh # 协议语言
默认版权侧边栏颜色修改,打开 variables.styl 定义颜色:
$post-copyright-border = #81a6ed;打开 styles.styl 替换样式:
/* post-版权声明 */
.post-copyright ul {
  border-left: 3px solid $post-copyright-border;
}

.post-copyright ul li a {
  color: $custom-link;
  border-bottom: none

  &:hover {
    color: $custom-link-hover;
    border-bottom: 1px solid $custom-link-hover;
  }
}
底部标签修改
底部标签默认使用 # 当前缀,打开主题配置文件搜索 tag_icon:
tag_icon: true # 改用图标前缀底部页脚修改
打开主题配置文件搜索 footer:
footer:  # 底部信息区
  since: 2017 # 建站时间
  icon:
    name: fas fa-heartbeat # 图标名称,Icon name in Font Awesome
    animated: true # 开启动画
    color: "#ff0000" # 图标颜色
  copyright:
  powered: false # 隐藏Hexo & NexT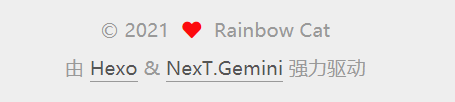

功能拓展
本地搜索
1.在博客根目录执行以下命令
npm install hexo-generator-search --save2.在主题配置文件中 → 搜索 local_search 选项,开启搜索:
local_search:
  enable: true # 默认为false,设置为true
  trigger: auto
  top_n_per_article: 1
  unescape: false
  preload: true
3.如果你不想改篇文章出现在搜索结过中,可文章 Front-matter 中加入indexing: false。
4.打开博客配置文件添加搜索文件配置(可选)
#搜索配置
search:
  path: search/search.xml # 搜索文件生成路径
  field: post # 指定搜索范围,可选 post | page | all
  format: html # 指定页面内容形式,可选 html | raw (Markdown) | excerpt | more
  limit: 10000 # 限定搜索结果条数
Url 持久化
使用插件:hexo-abbrlink
Hexo默认的文章链接形式为 :year/:month/:day/:title/,是一个四级url,并且可能造成 url 过长,会影响网站的SEO,对搜索引擎是十分不友好。
在博客根目录安装 hexo-abbrlink:
npm i hexo-abbrlink --save打开站点配置文件,搜索 permalink 改为如下配置:
#permalink: :year/:month/:day/:title/
permalink: posts/:abbrlink/
abbrlink:
  alg: crc32  # 算法:crc16(default) and crc32
  rep: hex    # 进制:dec(default) and hex
代码压缩
使用插件:hexo-all-minifier
在博客根目录下执行安装命令:
npm i hexo-all-minifier --save打开站点配置文件添加代码压缩规则:
# Minifier & Optimization plugin
## See: https://github.com/chenzhutian/hexo-all-minifier
all_minifier: true
html_minifier:
  enable: true
css_minifier:
  enable: true
  exclude:
    - '*.min.css'
js_minifier:
  enable: true
  exclude:
    - '*.min.js'
image_minifier:
  enable: false
更多进阶配置请参考我的 Hexo-NexT 后续优化 这篇文章
部署站点
1.在博客根目录安装部署插件:hexo-deployer-git
npm i hexo-deployer-git --save2.打开站点配置文件,搜索 deploy 选项,填写对应Git仓库地址:
deploy:
  type: git
  repo:
   github: git@github.com:******.git,master
3.推送博客
hexo clean & hexo g & hexo d